
A home golf simulator combines a suitable room, reliable shot-tracking equipment, a safe hitting surface, ball protection, display hardware, and compatible software. The project becomes much easier when each part is selected in the correct order instead of buying equipment first and trying to make it fit later. Anyone researching how to build a golf simulator should begin with the available space and the experience they want. A simple practice area may use a net and television, while a complete setup may include an impact screen, projector, enclosure, gaming computer, and realistic course software. Careful planning helps the finished system feel comfortable, provide dependable shot data, and remain within budget.
Decide What Kind Of Simulator You Want
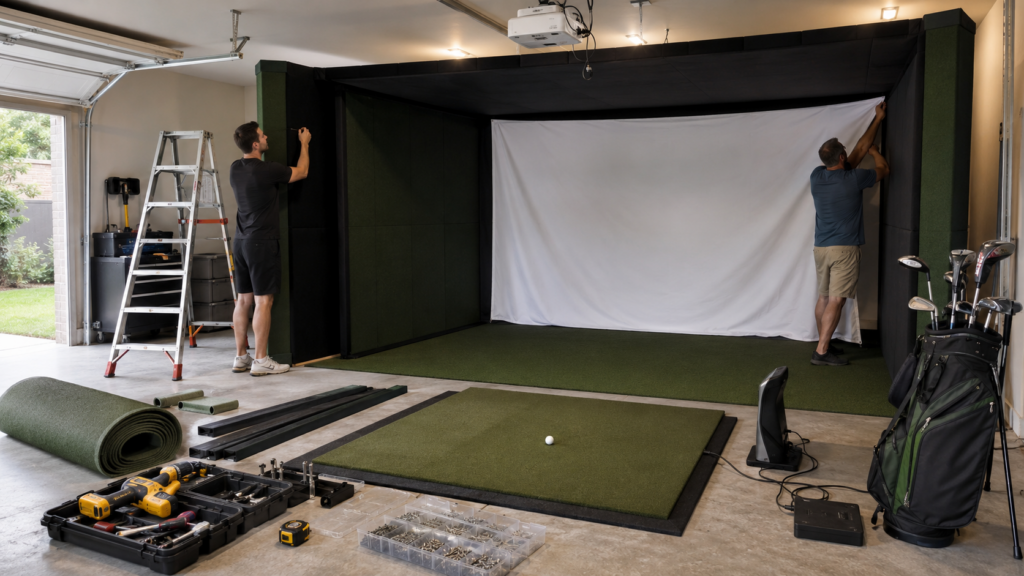
The first step is defining what the simulator needs to accomplish. A golfer focused mainly on improving club distances may only need a launch monitor, hitting mat, net, and tablet. This arrangement costs less, requires fewer connections, and can often be packed away when the room is needed for something else. A golfer who wants to play full virtual rounds will need a more complete plan that includes an impact screen, projector, computer, enclosure, and course software.
Think about who will use the system and how often it will operate. A personal practice station can be designed around one golfer’s height, handedness, swing, and training goals. A family or entertainment setup needs more flexibility because different players may stand in different positions. It should also provide stronger protection for mishits. A system used for coaching may require detailed club and ball measurements that are unnecessary for casual play.
This decision shapes every later purchase. It determines the launch monitor type, screen size, computer requirements, and overall room layout. When learning how to build a golf simulator, avoid beginning with an expensive projector or premium turf. Start by writing down the main purpose, expected users, available room, and preferred level of realism. Those answers create a practical foundation for the entire project.
Measure The Room Before Buying Equipment
A simulator should fit the golfer, not merely the dimensions printed on an equipment page. Measure the ceiling height, room width, and total depth. Also record beams, lights, fans, garage-door tracks, pipes, shelves, and other obstructions. The lowest or closest object may matter more than the room’s advertised dimensions.
Stand where the hitting mat may be placed and make slow practice swings with a driver. Test the backswing and follow-through from several positions. Then repeat the test at normal speed after confirming the area is clear. When right-handed and left-handed golfers will share the simulator, test from each side of the ball. A room that works comfortably for one player may not provide enough side clearance for another.
The screen needs room behind it to flex, while the golfer needs a comfortable distance from the screen. Leave space behind the hitting position for the launch monitor, backswing, seating, and safe movement. Mark the proposed enclosure and hitting mat on the floor with tape before ordering equipment. This step prevents one of the most expensive mistakes in how to build a golf simulator: purchasing equipment that technically fits but forces the golfer to shorten the swing. The final room should feel open enough for players to focus on the shot instead of worrying about the ceiling or nearby walls.
Choose The Right Launch Monitor
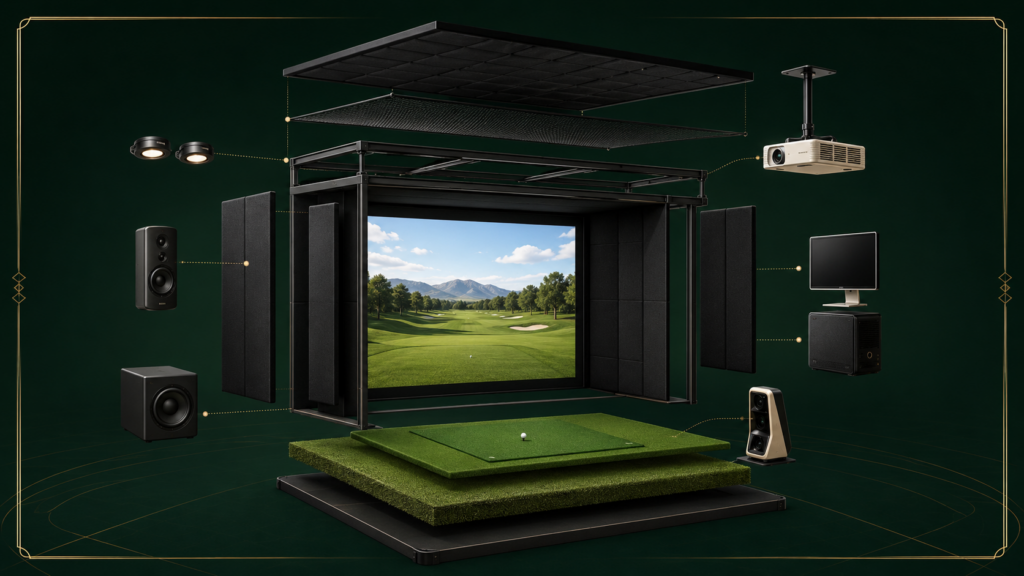
The launch monitor is the measuring system behind the simulator. It tracks information such as ball speed, launch angle, direction, spin, and carry distance. Some models also provide club speed, path, face angle, and impact information. The right choice depends on the golfer’s goals, budget, and room dimensions. Camera-based launch monitors observe the ball around impact. They can work well in shorter rooms because they do not always need a long section of visible ball flight. Some sit beside the hitting area, while other models mount overhead. Radar systems usually sit behind the golfer and track movement toward the screen. They may require more room behind the ball and additional flight distance in front of it.
Check whether important data points are measured directly or calculated. Casual players may be satisfied with reliable carry, speed, and direction. Competitive golfers and coaches may want more detailed spin and club data. Software compatibility should also be checked before purchasing. A launch monitor may provide excellent readings while limiting the courses or practice programs that can be used. When planning how to build a golf simulator, choose the launch monitor before finalizing the enclosure and projector. Its placement requirements determine where the ball, screen, and golfer must stand. Building the room around the selected tracking technology creates a cleaner layout and reduces alignment problems later.
Build A Safe Hitting And Screen Area
The hitting area must protect the golfer, the room, and anyone standing nearby. A durable mat provides stable footing and absorbs repeated contact from irons. Avoid placing a thin hitting strip directly on concrete because the hard surface can make every strike feel uncomfortable. The stance area and hitting strip should remain level so the golfer does not stand above or below the ball.
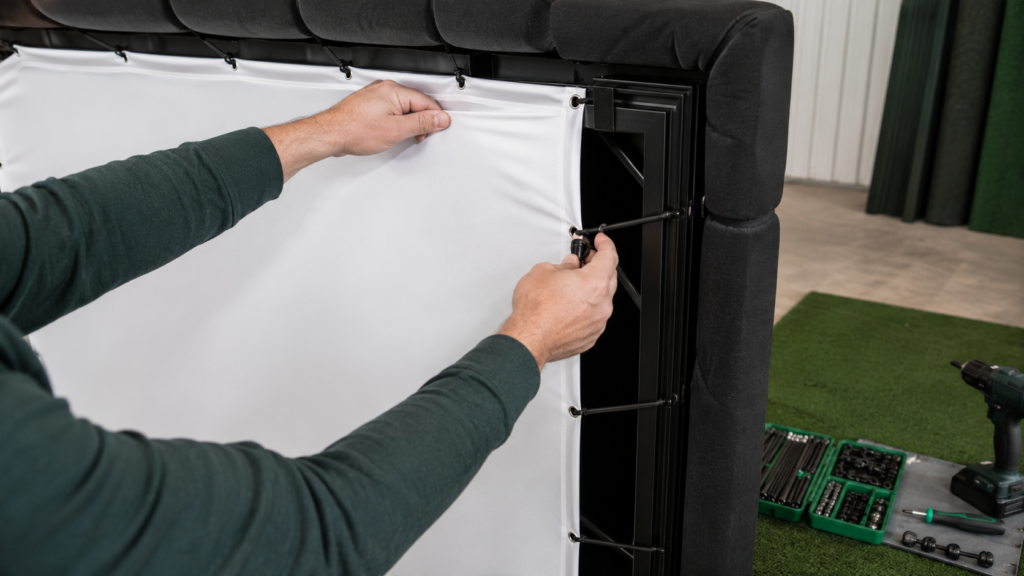
A basic practice setup can use a strong golf net. A projected simulator needs an impact screen that can withstand full-speed shots while displaying a clear image. The screen should have enough space behind it to flex without hitting the wall. Side netting or padded panels should protect against shots that miss the center. Ceiling protection can also contain high wedges and accidental pop-ups.
Do not pull the impact screen excessively tight. A screen that cannot move may create stronger ball rebound. The correct tension depends on the screen material and frame design, so follow the supplier’s installation guidance. Hard objects, windows, and electronics should remain outside the possible ball path. Safety is central to how to build a golf simulator because even experienced players occasionally hit poor shots. Design the enclosure for a reasonable mishit instead of planning only for straight drives. A secure hitting area also makes the system more comfortable for beginners, children, and guests who may not control the clubface consistently.
Add The Projector, Computer, And Software
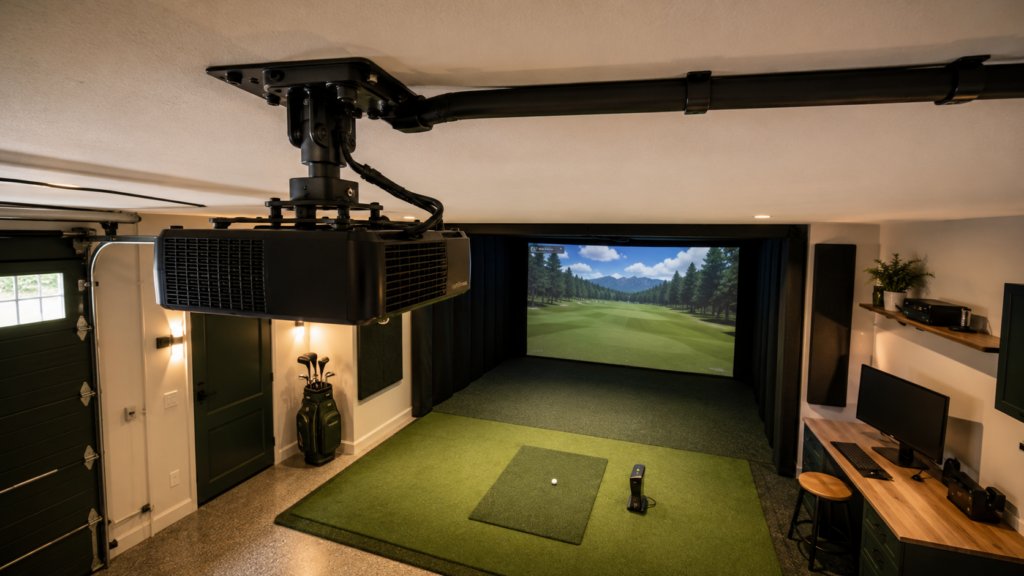
A projector turns the simulator from a basic data station into an immersive course experience. Choose a model that can produce the required image size from the available mounting distance. Short-throw projectors are commonly used in smaller rooms because they can create a large image without sitting far behind the golfer. However, the projector must remain outside the swing path and should not create a strong shadow across the screen.
Match the screen shape to the projector’s aspect ratio. A wider screen can create a more engaging view, but it may require more room and stronger projector brightness. Nearby light should be controlled because a bright room can make the projected image appear faded. A television or monitor can replace the projector in a simpler net-based system.
The computer must meet the requirements of both the launch monitor and simulation software. Basic practice applications may run on a tablet or regular laptop. Detailed virtual courses often require a dedicated computer with stronger graphics performance. Confirm the necessary ports, wireless connections, and display outputs before installation. Software determines the available courses, practice modes, weather settings, and game formats. Review license costs and subscription requirements before committing. Those ongoing charges should be included in the original budget. A successful approach to how to build a golf simulator treats the monitor, projector, computer, and software as one connected system rather than separate purchases.
Plan Power, Cables, And Room Comfort
A clean electrical layout makes the simulator safer and easier to use. Estimate the outlets needed for the launch monitor, projector, computer, display, speakers, lighting, and charging devices. Permanent simulator rooms may benefit from professionally installed outlets near the equipment, which reduces the need for cords across walkways or behind the impact screen.
Extension cords should not replace permanent wiring in a regularly used simulator room. The Electrical Safety Foundation International recommends avoiding overloaded cords, inspecting them for damage, and keeping them away from water and covered areas where heat may build up. Route power and signal cables outside the hitting zone, and use cable covers wherever wires cross a walking path. Garages and outdoor structures may also require moisture protection, ventilation, reliable lighting, and suitable temperature control.
Anyone learning how to build a golf simulator should plan room comfort alongside the equipment. A well-organized space with safe wiring, steady power, and protected cables will be easier to use and maintain.
Test And Calibrate The Complete Setup
After installation, test the simulator one part at a time. Begin by confirming that the mat, ball position, and target line are aligned with the center of the screen. Place the launch monitor exactly where its instructions require. Then connect the software and hit several controlled shots with a familiar club.
Look for consistent results instead of expecting every number to match an outdoor round immediately. Several solid 7-irons should produce a reasonable group of ball speeds, launch angles, and carry distances. When one reading appears unrealistic, check the ball position, lighting, device alignment, and software settings before assuming the launch monitor is faulty. Dirty balls, reflective surfaces, or a unit sitting slightly away from the target line can affect readings.
Test the driver, irons, wedges, chips, and putts because each type of shot may challenge the system differently. Adjust the screen tension when bounce-back feels excessive. Confirm that no club can reach the projector, ceiling, or enclosure during a full swing. Another golfer should also test the room before the project is considered complete. Portable designs need a repeatable setup process whenever the equipment moves. Roaming Scores follows a defined delivery, installation, and testing process for its mobile simulator. The company’s background and approach can be viewed on the Roaming Scores about page.
Conclusion
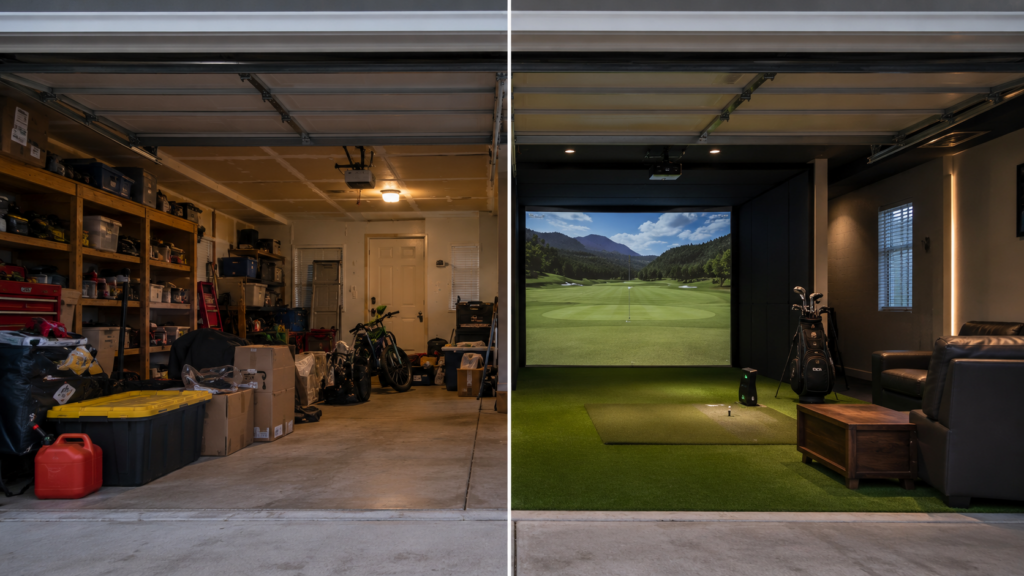
Learning how to build a golf simulator becomes manageable when the project follows a clear order. Define the purpose, measure the room, choose the launch monitor, create a protected hitting area, add compatible display equipment, organize the power, and test the complete system. The best build is the one that fits the golfer, the available space, and the way it will be used.
A permanent simulator requires installation, maintenance, and a dedicated room. For a party, fundraiser, wedding, corporate gathering, or golf night, a mobile rental may be more practical. Roaming Scores delivers, installs, and removes a complete simulator setup throughout Northeast Ohio. Hosts can book their date and provide their location details so the available space can be reviewed before the event.